Food Photography Hints and Tips for Bloggers
Cookery and photography are very similar activities: they are both about sharing and both involve a creative blend of art and science. A great meal and a great photograph both take time, patience and practice behind the scenes before you present the finished work to your friends.
There are no universal rules either for cooking or for photographing food, just some good ideas. Most of the ideas I am suggesting in this article can be applied to photographing food with any camera, whether you use a dSLR (digital single lens reflex), a compact camera or even a smart phone. Clearly the more advanced your camera, the greater the potential you have for control.
Make the most of the light
Whilst we can all cook and eat an incredible variety of meals, our cameras exist on a strict diet of light and nothing else. So experimenting with ways to make the most of the light is a good idea.
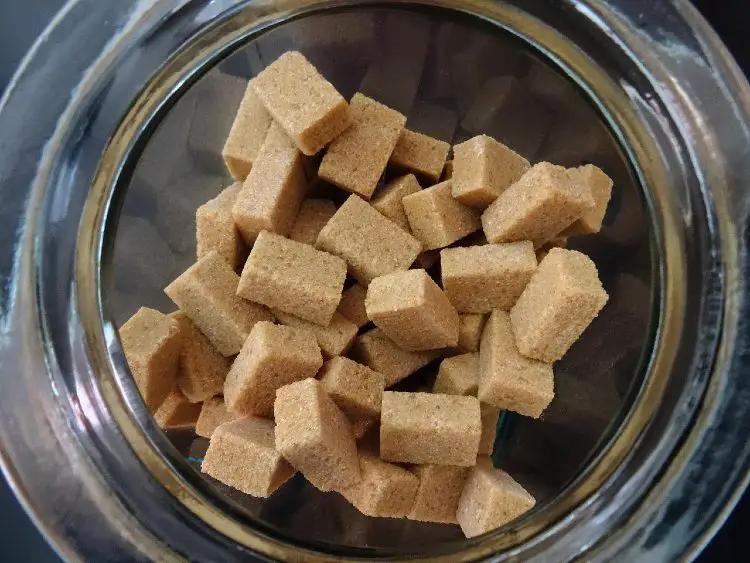
Try shooting so that light reflects off the food towards the camera
Traditionally many people set up their photographs with the light behind the camera, shining onto the subject. But with food it’s often a good idea to turn that concept around.
It’s easy to experiment by placing a plate of something delicious near (or on) a windowsill and then shooting from different sides to see what works best.
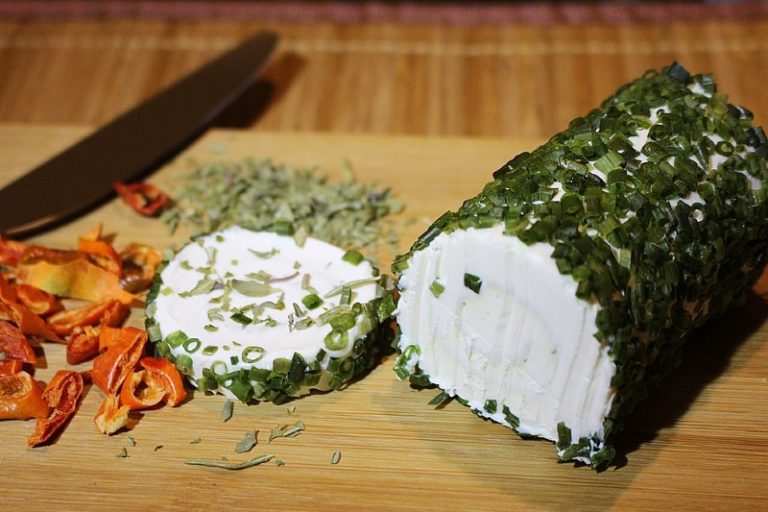
A bit of shine or sparkle can really lift an image of food, so try to catch the light as it reflects off the cherry on top of the cake, or the drip of ketchup as it slides down the burger. Shine keeps food looking fresh and eye-catching.
If you’re the kind of foodie that likes to photograph restaurant food at the start of each course (I do), eat at lunch time and sit near the window.
Don’t even think about using the flash on your camera
It’s very difficult to use an on-camera flash without making an image look very flat, or leaving sharp ugly shadows round the edge of key objects. There are several simple alternatives to using a flash, and most of them would make the pictures look better whether or not a flash is needed.
Use a very wide aperture
This isn’t as technical as it sounds. It just means the hole in the lens is open very wide, so more light can come through into the camera, reducing the need for the flash. With a quick flick through your camera’s instruction manual you can learn which setting will let you control the aperture. Aperture is labelled with “f” numbers.
Some lenses for dSLR cameras are designed especially to have a wide aperture. The 50mm f1.8 lenses by both Canon and Nikon are a brilliant bargain, often available for less than £100. And these days there are several compact cameras on the market that offer a very wide aperture lens built in. Anything with an “f number” that’s lower than 2 can be impressive in low light. e.g. Olympus XZ-1, Samsung TL500 (both f1.8).
Here are some useful links:
Canon 50mm f1.8
http://j.mp/NCKfs9
Nikon 50mm f1.8
http://j.mp/O2Sq20
Olympus XZ-1
http://www.olympus.co.uk/consumer/xz-1/XZ-1-camera-digital.htm
Samsung TL500
http://www.samsung.com/us/photography/digital-cameras/EC-TL500ZBPBUS
As well as working well without the need for the flash, a wide aperture can provide a lovely soft blurry background and foreground, with just the main subject kept in sharp focus. This is an effect known as “shallow depth of field” which has been extremely popular in food photography for a while. It does mean you’ll need to focus very carefully on just the right potato, raspberry or peppercorn.
Hold still a minute
Another way to improve picture quality in low light, without the dreaded camera flash, is simply to hold the camera very still. Not everyone wants to carry a full-scale tripod into the dining room, but for compact cameras there are some great micro-tripods available that fold up small enough to fit in a pocket (the “Gorilla Pod” isone such example). There are some nifty gadgets available for iPhone photographers (e.g. the “Flipcage” with iPhone mount, or the “Glif”). Something as simple as resting your camera on the back of a dining chair, or on the dinner table itself with a couple of napkins helping to keep it at the best angle could suffice equally well.
Useful links:
Gorillapod
http://joby.com/gorillapod/
Glif
Getting decent exposure
If your camera is set to automatic, it will decide how bright or dark the pictures should be. This can work well for much of the time – but the camera expects the overall exposure to be about the same for all the pictures, so the brightness of all your photos will literally be an average. A shot of a vanilla pannacotta on a beautiful white plate taken in auto mode will not as look clean and bright as it could. The camera will reduce the exposure to an average brightness, and the plate will look dull and dark as a result.
Since much of the food in restaurants is presented on white crockery, many food pictures can end up looking duller than they should.
Another couple of minutes with your camera’s instruction manual should provide a quick lesson in controlling how bright or dark the picture will be on your camera. And with digital cameras – you can always take several shots, adjusting each time until you get the light, bright look you hoped for.
Clearly the same principle applies when photographing something like a dark chocolate sauce in a black pan, except that the automatic setting on your camera will make this shot too light, and you’ll need to compensate the other way.
Whiter than white
Light is more colourful than we may realise. Daylight is cool and blue. Electric light is very often extremely warm and yellow. Our eyes and our brains are incredibly good at compensating for these changes in light colour. Cameras are much less capable of addressing these changes. Photos can very easily end up looking yellow or blue or both in patches, which is undesirable.
The simplest way to prevent this being a problem is to make sure the light source for the photo is all one colour, either all electric light, or all daylight. (This is probably one of the easiest ways to make photos instantly look more professional.) Either switch all the lights off and photograph near a window, or close the curtains and use only electric light.
If you enjoy learning the clever settings on your camera it’s well worth reading the instructions for controlling “white balance”. This is the camera’s way of compensating for variations in light colour. For really clean, clear pictures with a dSLR you can manually set the white balance to exactly the colour of light in any setting. (Still well worth ensuring the light is from a single source as well.)
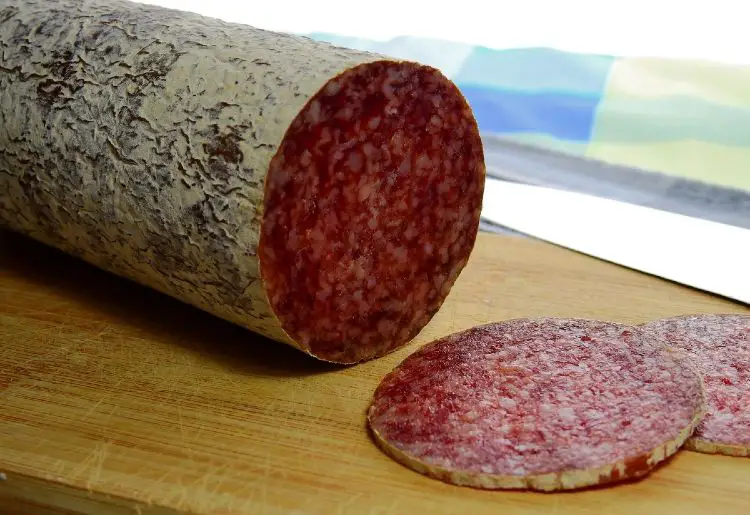
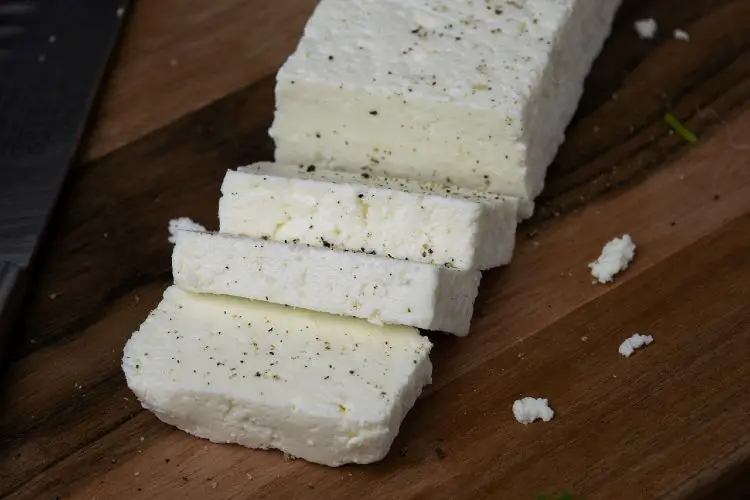
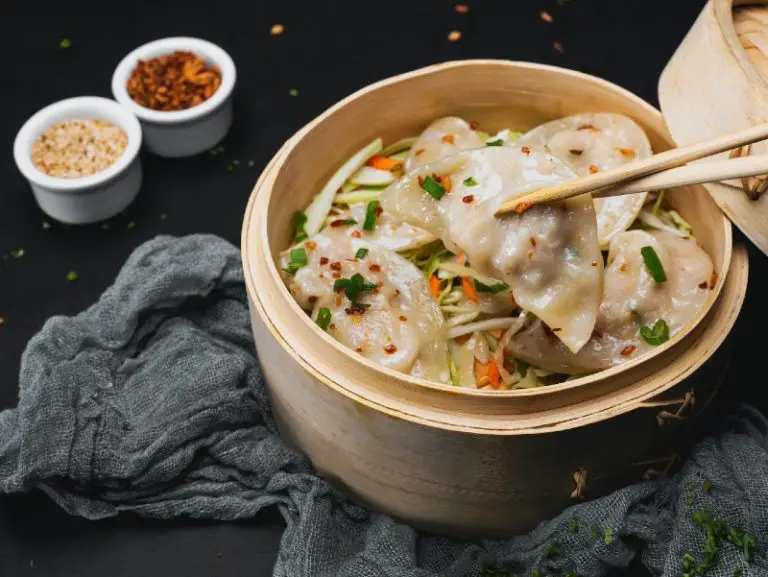
Get close to the food
Close ups are almost always the shots that grab the most attention. Unless your food pictures are going to be displayed in a really large format, it’s a good idea to try getting as close as possible to the food and the hands that are preparing it.
Try getting close enough for only part of the dish to appear in the shot. The elliptical curve of a plate edge can also add a pleasing feel to the composition of a picture.
Shooting very low over a plate of food can create a really interesting sense of the shape and textures. There is a longstanding trend in photographing food from directly above the table – see Jason Lowe’s stunning photographs in Simon Hopkinson’s “The Good Cook”, published by BBC Books, as a good example of this technique.
Post-production
You don’t need to be a master at the art of Photoshop to add a really useful bit of post-production gloss to your food pictures. In fact you don’t need Photoshop at all.
Contrast and brightness are a good place to start. Almost all basic photo storage software (the kit already on your computer) offers these adjustments. A quick bit of experimenting with the contrast and brightness faders almost always smartens up a photograph a little. Then you could try tweaking the sharpness and the definition too. And then experiment with other settings, always making gradual and subtle changes, rather than exaggerated and extreme ones.
If you’re enjoying yourself, then you could think about playing with some slightly cleverer kit. There are simple versions of Photoshop for Android and iPhone and iPad and the rest. There are plenty of free online photo editing toys too. Apps like Instagram and Hipstamatic create very popular retro effects forvery little money. I could try listing others apps, but there’ll probably be something new and better to play with by the time you’re reading this.
Get inspired
Seeking creative inspiration is a more acceptable way of saying “take good ideas from other people”. But why not? The number of cook books, web pages, food blogs and photo sharing sites available means there must be millions of food pictures to provoke or inspire us. Join a lively food photography group on a site like flickr and you can discuss, review and share food photography on a daily basis.
Most of what goes on during a (potentially expensive) college photography course is students taking and comparing many, many of pictures, to discover what works best for them. In the digital age we can all just do that anyway. Cook lots, photograph lots and shareas much as you can.
And always remember that the best thing about food photography is that, regardless of our success with the camera, we all get to eat the subject.
Further Information
Rob Wicks : www.eatpictures.com
Follow Rob on Twitter: @EATPICTURES