Light, Aperture, Exposure: A Day with Rob Wicks of Eatpictures
As much as we would like to hope that the quality of food writing on the internet is increasingly improving in range and depth, food blogging continues to be a highly visual medium, and the words that are typed beneath images are often there just to describe a dish or ingredient. Click into any of the leading food blogs (most of them, let’s face it, created in the U.S.) and you will see the same, beautiful (albeit saccharine-sweet and repetitive) style of collage photography throughout: shiny, white light through a flower; gingham plastic cutlery; fruit scattered on a white tray; small child stroking a chicken; pea shoots in a polka dot bowl etc, etc.
Whilst not wishing in any way to enter the foray that is this very competitive, high maintenance level of food blogging, I thought it instructive to spend a day with a professional food photographer to learn the basics of the craft of creating simple, appetising photography to share on social media and my blogs, and to find out more about where the future of digital food photography is going. I was also particularly interested in understanding the functionality of my camera, a Canon EOS 60D, by demonstration, as instruction manuals are often far too dry and technical.
So I turned to Rob Wicks, the founder of Eatpictures, who, after graduating from Liverpool University with a degree in physics, worked as a film and video maker for the BBC for 17 years before setting up his Bristol based business, Eatpictures. Rob specialises in creating food photographs and videos for PR agencies, magazines, websites, restaurants, cookery schools and food producers.
He sent me a very helpful list of hints and tips which you can see here and in addition, by spending a day with me at my house, he showed me how to get the very best out of my camera using only natural light, a new attitude and a few changes to my camera settings. Here is a summary of just ten of the things I learned.
Light positioning
In food photography it is always best to shoot as near to the window as possible, or even outside, to take advantage of as much natural daylight as possible. Rob recommends staying away from very bright, sunlit windows because overhead, direct sunshine can cast darker shadows round the edges of the subject matter. Early or late evening light is usually best. The brightness setting on the camera can also be used to control lightness and brightness to a more precise effect, but nothing can be better than good, natural lighting.
White cardboard
By using a simple white cardboard or stiff piece of paper, you can bounce reflective light back onto your subject matter. It is useful to have an assistant, for sure, but, at a pinch you can do this yourself if you prop the paper or card against a box, at an angle whereby it cannot be seen in the shot.
Analysing the angle
Whatever dish or object I was taking a shot of, Rob recommended I moved all around the object and saw it from all the different angles, in order to see its best side and the position where light was most reflected. Do not assume that the first position is always the best – also take a look at what is in the near and far distance if it is in the shot, as it may need tweaking.
Close up
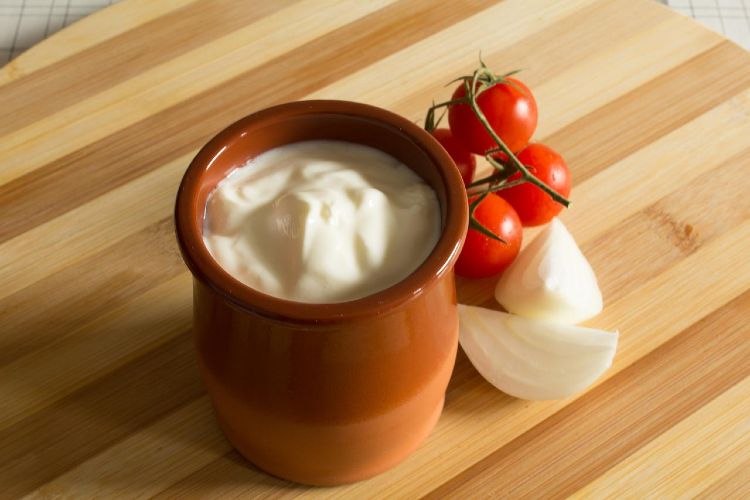
For food blogging and restaurant shots, Rob recommended taking close-ups of food, for greater detail and for showcasing the beauty of both raw ingredients and cooked dishes. In taking a picture-postcard sized shot the viewer wants to see as much texture and contrast as possible.
Composition
When looking at a potential shot, Rob advised me to frame the composition by eye in thirds: one third of the frame is the top, one third the middle and one third the bottom. We configured the composition so that the main “hero” of the shot (sometimes the finished dish itself or an ingredient) was at the centre. Rob showed me how to simplify composition and move the various components of the frame until the favoured look was achieved.
The AV – aperture setting
By setting the AV setting on my camera , Rob showed me how to control the aperture so that the maximum amount of light could enter the lens, varying the settings according to the different subjects we were shooting during the day. We used a 50 mm f1.8, wide aperture lens. The lower the “f” number, the greater the aperture of the lens, and vice versa. I learned how to control the depth of field so that, in achieving a short “dof” the main subject matter was in focus and all around it was soft and blurred. With a long depth of field (I used f3.5) a longer depth of field was achieved.
Kitchen or artisanal produce shots.
Often, when I interview Chefs or artisans, the light overhead is neon, harsh, white light – very good for long hours of making cheese or bread but not good at all for taking pictures. Rob recommends shooting in black and white, or changing the photo to black and white in post-production. He also showed me the settings for white balance, so that I can take control of exactly the right colour I need to achieve in the photographs.
Focus
I spent a good amount of time learning how to focus correctly. By half pressing the shutter button the camera lights up red squares to show you exactly where the lens is focussed. I experimented in focusing both near and far and learned all about the good side of blurred, which is all the rage in food blogging at the moment.
Flickr
Rob taught me the joys of flickr – the photo sharing site. Do beware, it is highly addictive as food photography is one of the biggest sections of the website. Here you can see a huge range of international photographers’ work, which is very inspiring and informative. Hints and tips are swapped across the globe, so you can learn a great deal from this community.
Post-production
The philosophy of good photography is to exercise best practice while shooting, so that the amount of post-production after the photo is uploaded to your computer gallery can be kept at a minimum. I do not have Photoshop or Lightbox, but I am now able to use the brightness, contrast, shadows and highlights settings on my screen to achieve a much better end-result.
I also learned a great deal about how Rob set up his business, which might be very enlightening for those food bloggers out there who are thinking of making the big jump into professional photography. With just his Blog and his Twitter account, Rob is managing to make a living out of Eatpictures : word of mouth and happy customers’ referrals spread the word without any marketing or advertising. He told me that by being able to do videos and films as well as photography he enables food and drink clients to sell their brand across all media platforms. The most important part of his work, he told me “…is to tell stories. Growing, preparing and eating food is a story. There is a beginning, a middle and an end. What I do is create still and moving pictures to tell that story in as beautiful a way as possible”.
Although I will never be in the same league as those American lifestyle bloggers that spend all day strewing pea shoots over chintz cloth and positioning toddlers holding ice cream cones against rose clad walls, I have come some way in just one day’s tuition in understanding the mind-set of the professional food photographer. I would recommend it to anyone who is interested in improving their photography skills and widening their knowledge. Your lunch might get very cold in the meantime, but it’s worth it. Bring on the strewn pea shoots.
Further Information
Rob Wicks: www.eatpictures.com
Follow Rob on Twitter: @EATPICTURES